Fuentes de Onoro is a relatively short drive from Ciudad Rodrigo, about 24 Km due west on the main road (A-62) to Portugal. The village is very sleepy, and appears quite empty. As I said before the area really reminded me of the West of Ireland on a sunny day (a rarity in itself). I had an easy drive on a sunny morning out of Ciudad Rodrigo and stopped at the village on my way to Portugal.
Dry stone walls lined the roads, villages and countryside all around, and the landscape looked fairly green for Spain. The village itself is a warren of small lanes and mostly low dry stone buildings.
The village was fairly bleak, and had a very isolated atmosphere; essentially a poor farming borderland.
This was one of the two main routes between Spain and Portugal that I mentioned in my Badajoz blog. Control both routes and you have the key to both countries, depending on which direction you're either attacking or defending from. In 1811 it was the French turn to attack, almost simultaneously in the North and South (the Battle of Albuera took place 10 days later). Both battles were actually attempts to relive the sieges, in this case of Massena trying to help the garrison at Almeida, and prevent Wellington from gaining control of the northern gates to Spain.
I've included a map of the battle below raided from Wikipedia (and source referenced), as it's hard to get a feel for the battle by just looking at the fields.
Map Source: Gregory Fremont-Barnes (main editor) - The Encyclopedia of the French Revolutionary and Napoleonic Wars, page 395. Adapted from Paget 1997, 126.
The notable thing about this battle, as with Albuera, is how in both the French very nearly outflanked the Allied armies. The lie of the land in Fuentes De Onoro, and the presence of Wellington, meant that the British were not caught so unawares as Beresford was in Albuera. Both battles were "Close run things" , which nearly ended in British defeat.
Wellington never considered the battle a victory, though it witnessed the best performance of Craufurd's Light Division in any engagement during the Peninsular War (the Light division’s finest hour), who saved the isolated 7th division on Wellington's right flank from destruction and enabled him to reposition his right wing after being effectively outflanked by the French army. (This was a big change from the near debacle at the battle of the Coa the previous year when the Light division came close to being cut off on the wrong side of the river, in front of Almeida, avoiding annihilation.)
An oft quoted remark attributed to Wellington about Fuentes de Onoro is that had Napoleon been there, the British Army would surely have been lost.
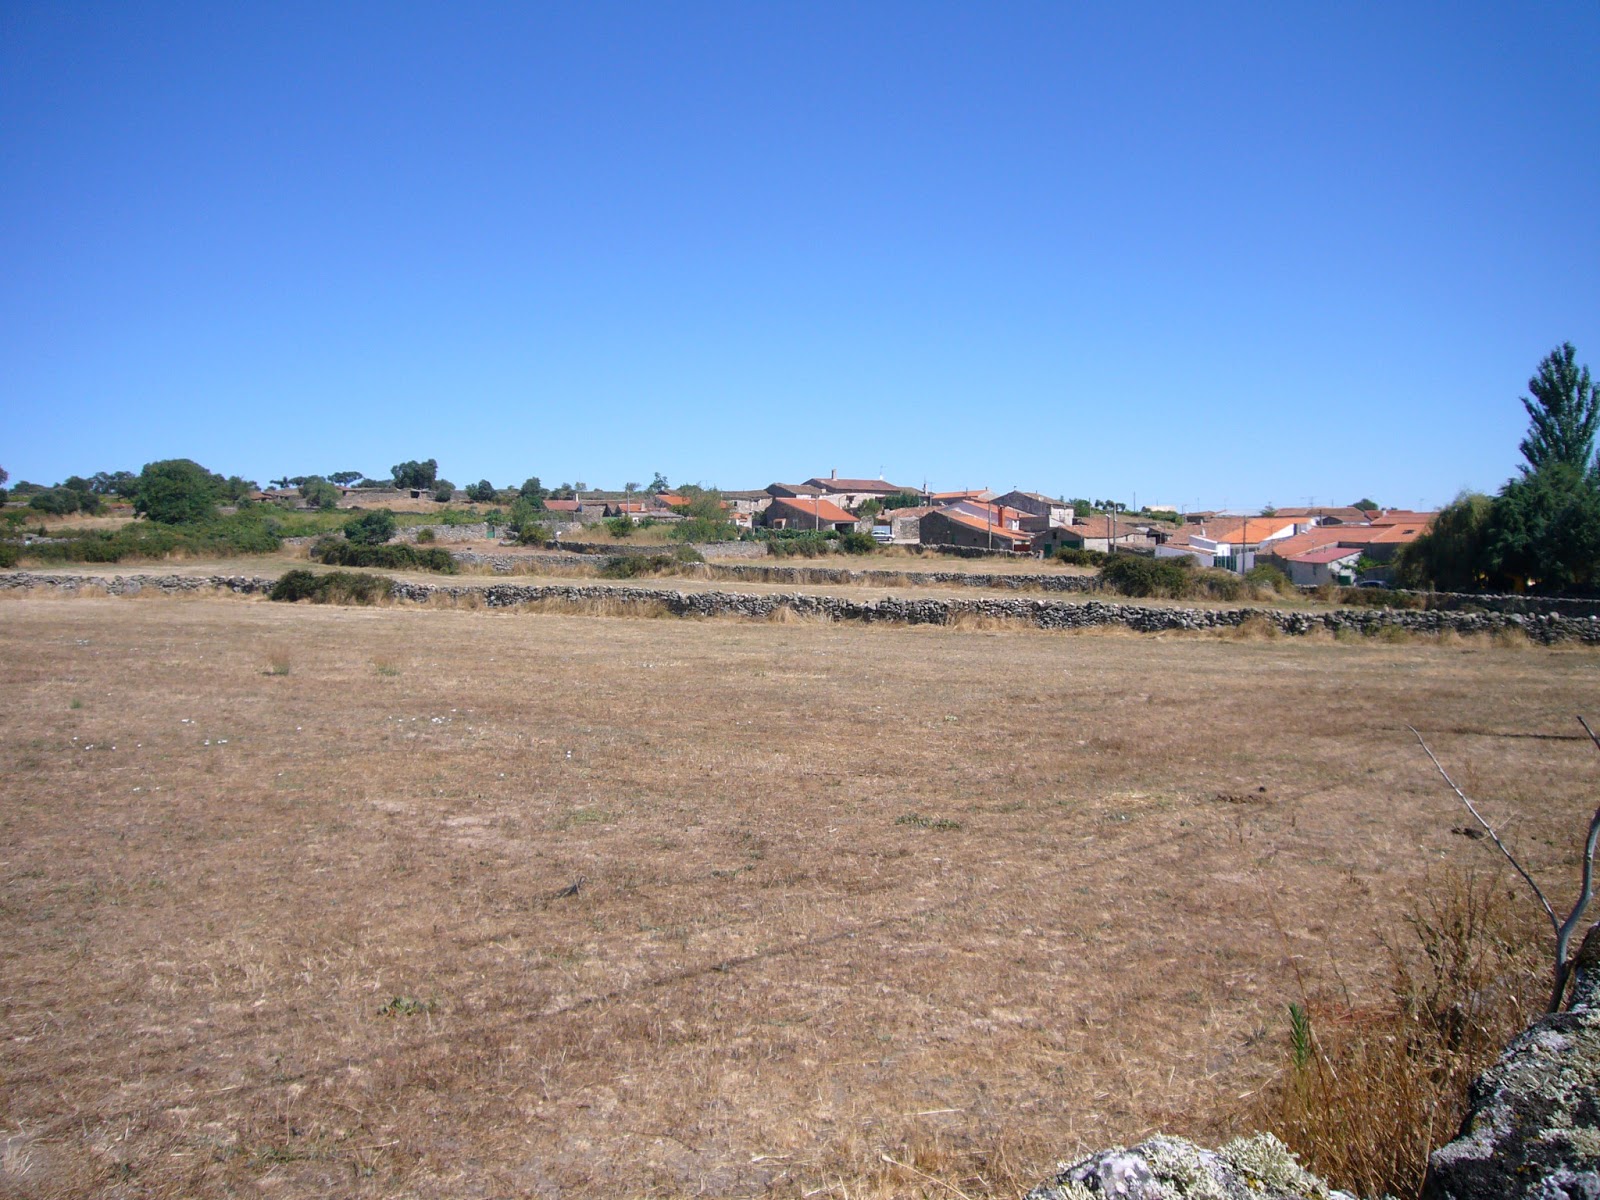
Looking east from the village towards the line of the main French advance. The flanking move would have begun in the distance and proceeded to the right of the picture.
What of course is apparent as you go through the images is that it is perfect light infantry country. Though the route back for the exposed 7th Division from Poco Velho covered by the Light infantry was over mostly open-fields swarming with French cavalry, which underlines the scale of their achievement.
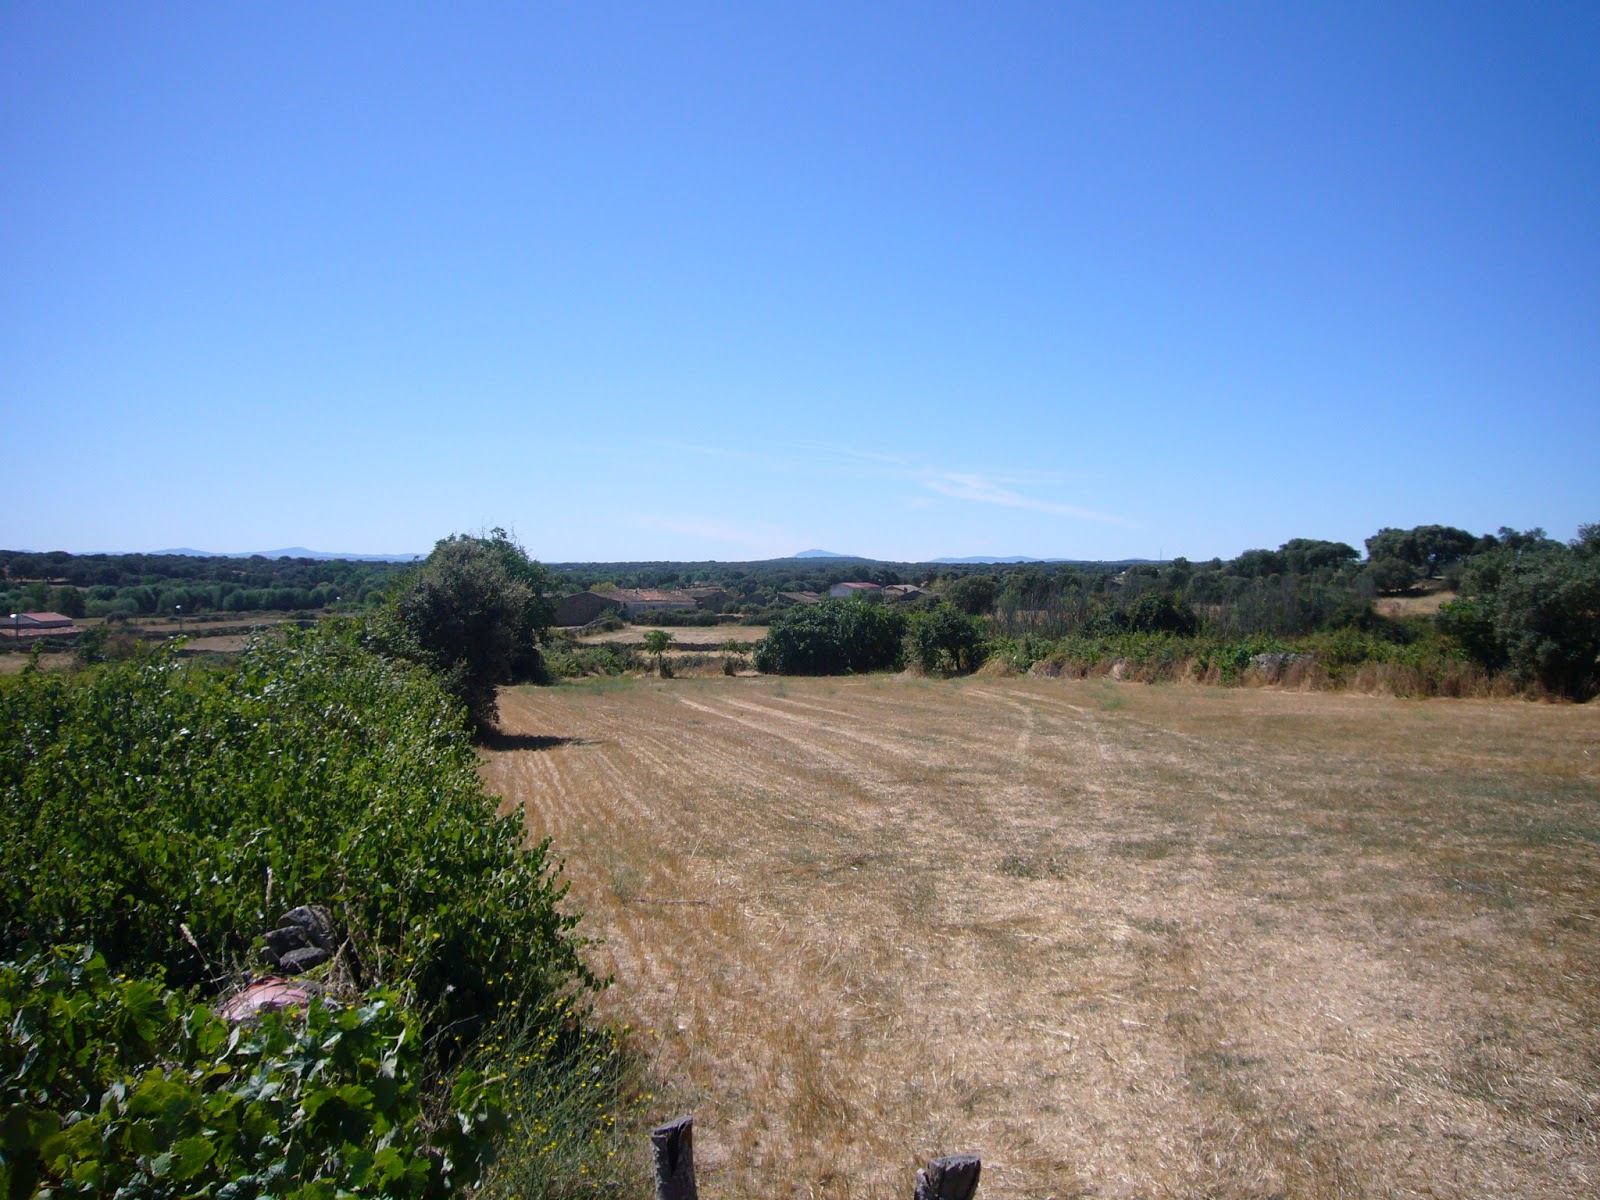
Below you can see a view out over the right flank from the ridge behind the village. This is the ground over which the British right flank retreated.
Looking up to the position of the new defensive line on the ridge taken by Wellington from the south side of the village.
The beginning of the more open farmland to the south of the village - the "exposed" right flank.
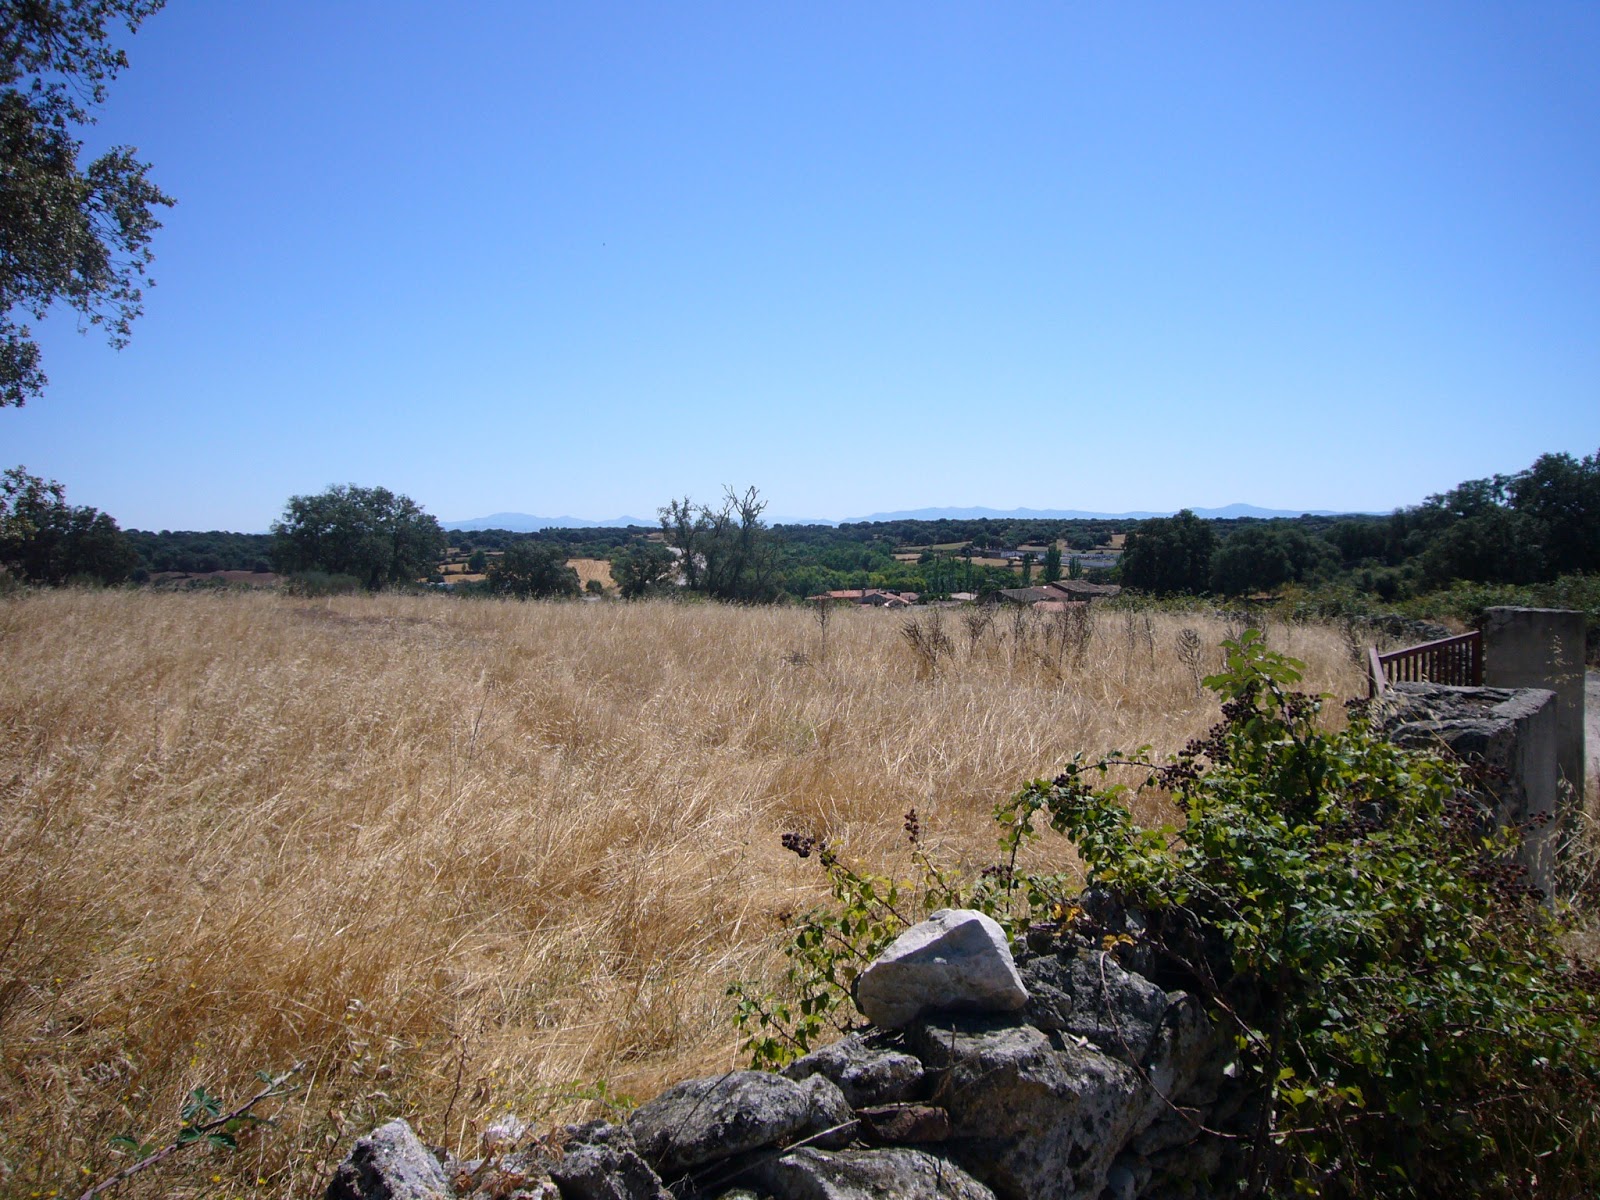
Up on the ridge again looking south from behind the village. The village is to the left of the picture.
Again on the ridge looking south-east. the village is in the middle distance.
What is apparent is that the slopes of the slope up to the ridge are criss-crossed with low stone walls and trees/hedging. behind this was the village itself full of narrow lanes and packed with one story farm buildings. This made for a very difficult obstacle for the French, and witnessed the bloodiest fighting of the day.
The Church in the distance in the centre of the village viewed from the position of Wellington's new right flank.
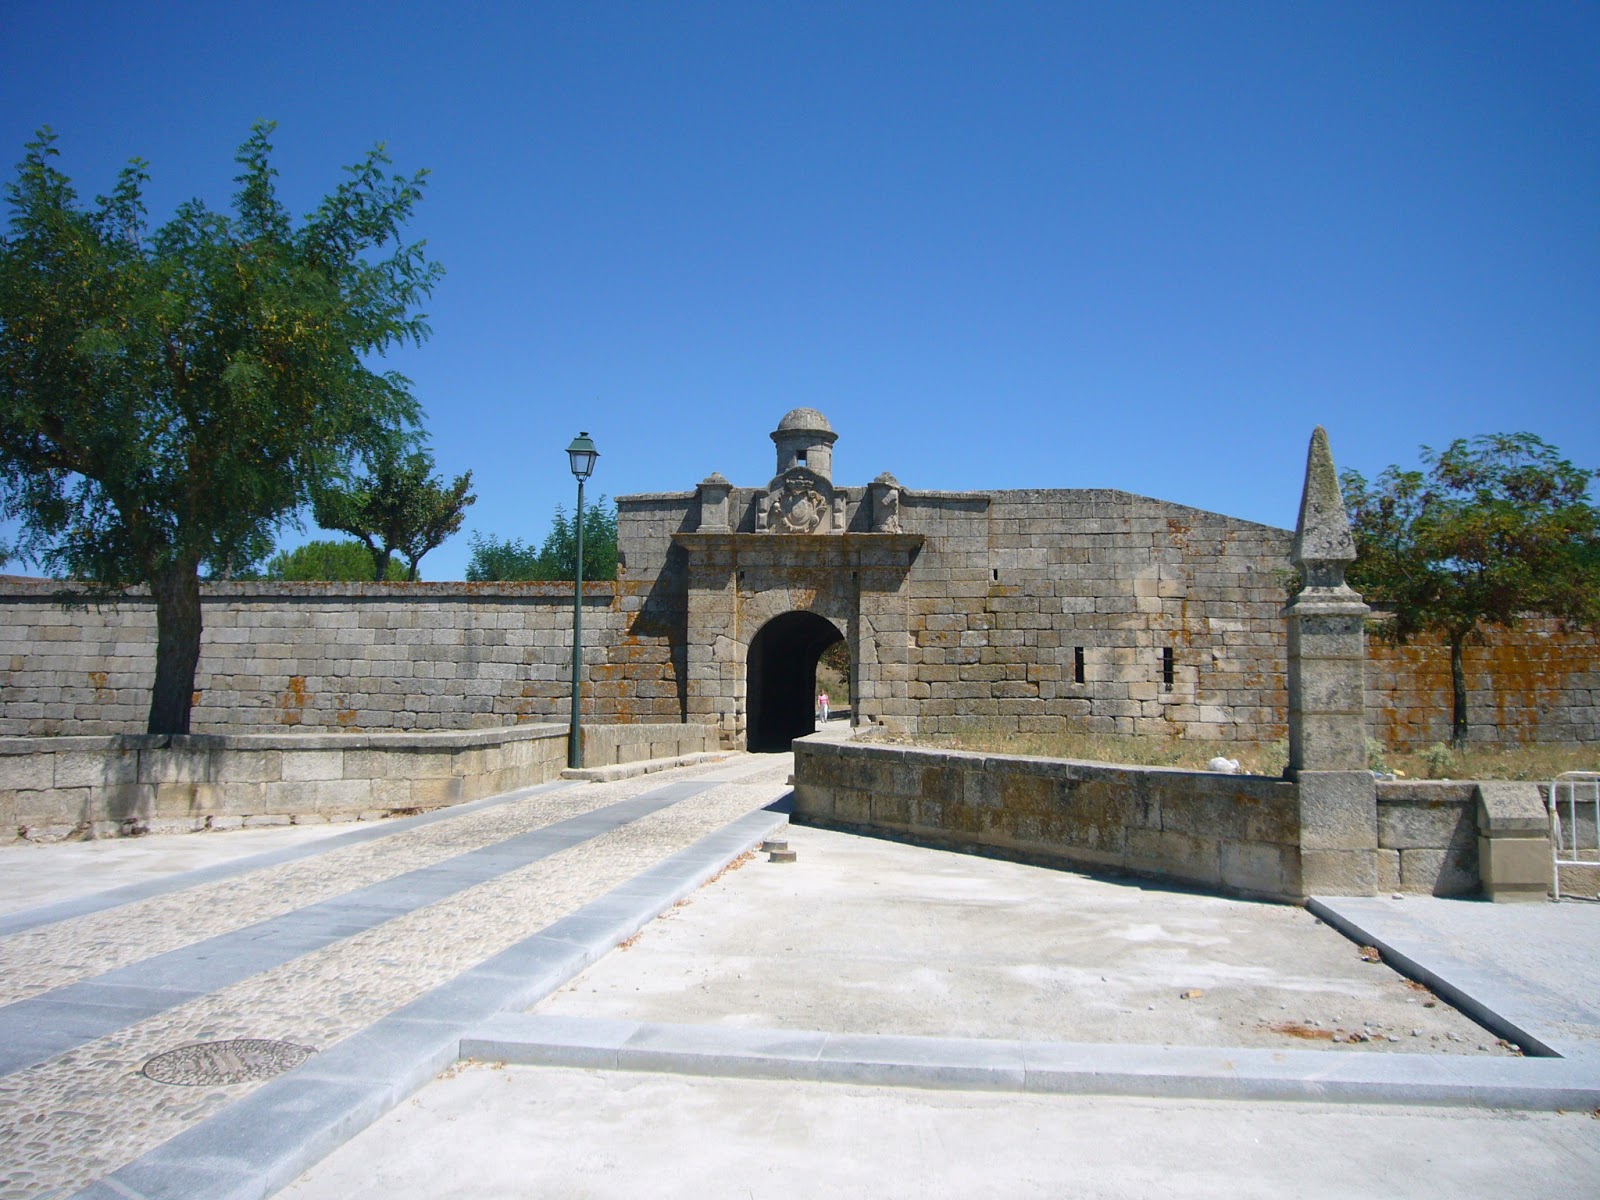
The old main road runs through the centre of the village, past the old church and up the hill, travelling west to the nearby border post with Portugal.
by most accounts the church is mostly as it appeared at the time of the battle. There is a small stone memorial to the battle there.
There is also a memorial to the fallen Nationalist heroes of the Spanish Civil war. Someone seems to have tried to pull the plaque off or damaged it. As in Ciudad Rodrigo, one can speculate that not everyone locally is happy with these monuments to Franco's men.
The main road coming up the hill. Even now you can see how narrow the way is. This was the line of the first attack by Ferrey's Division in trying to take the village, and then by Drouet, only to be thrown out again by the 88th Connaught Rangers Foot.
Just back from the top of the village on the ridge is where Wellington and his officers had their HQ. looking north along the line of his other regiments' positions (centre and left flanks).

k
Looking south from Wellington's position above the village.
Looking North along the ridge where the rest of Wellington's army was positioned facing east towards the French (centre and left flank). In the distance you can see the beginning of Vilar Formoso.
The onward journey to Almeida is short as well, so making the area a good destination for any battlefield tour. Basing yourself in Ciudad Rodrigo you can take in Almeida, the Coa, and Sabugal, and in the other direction you are about 80 km from Salamanca, which is easily accomplished as a day trip. Anyway highly recommended.
From Here I drove on to Almeida, Sabugal, and then down into Portugal to Bussaco which I reached in the evening. More on these battlefields in the next posts.